Best Homemade Cat Treats: Healthy & Safe Recipes
Ever found yourself scrutinizing the ingredients list on store-bought
You’re not alone.
The truth is, making your own
Imagine using ingredients you already have in your kitchen to whip up something truly special for your
It’s easier than you think, and I’m here to guide you through it.
With a myriad of simple recipes that require five ingredients or less, anyone can become a gourmet pet chef.
The best part? Your
They’ll love them just the same.
By the end of this article, you’ll be equipped with the knowledge to create all-natural, delicious treats that are sure to make your
Preparing for Cat Treat Making
Getting ready to make homemade
But, trust me, once you’ve got everything laid out, it feels like a fun little adventure in your kitchen.
Let’s make sure you have everything you need to whip up some delicious snacks your
Essential Ingredients for Nutritious Treats
The cornerstone of great
Since I’ve started making treats for my furball, I’ve discovered a few must-haves for any recipe:
- Protein: This is a no-brainer as cats are carnivores. Chicken, salmon, and tuna are fantastic choices. For example, the simple act of opening a can of tuna can send my Mr. Whiskers into a frenzy of excitement. It’s the
cat equivalent of us smelling a freshly baked pizza. - Whole grains: While not necessary for every treat, whole wheat flour or oatmeal can be great for adding texture. Just think of it as the difference between a chewy cookie and a soft cake – it all depends on the texture you’re going for.
- Eggs: They act as a binder to hold your ingredients together. Plus, they’re a great source of protein. Imagine trying to make meatballs without something to hold all the goodness together; that’s the exact role eggs play in our homemade treats.
- Healthy Fats: A bit of olive oil or fish oil can make the treats more palatable and provide essential omega-3 fatty acids. It’s like adding butter to popcorn; it just makes everything better.
- Herbs like Catnip: If you want to see your
cat go wild, adding some catnip or parsley can make a big difference. It’s the secret ingredient that can turn a regular treat into a gourmet feast for your feline.\
Outside of that, you also need some tools to work with:
- Food Processor: This helps in finely grinding protein sources like chicken or salmon. It’s like having your own sous-chef doing all the tedious work for you.
- Mixing Bowls and Spoons: Essential for mixing your ingredients. I always feel like a wizard concocting potions when I’m blending the eggs, flour, and salmon together.
- Baking Sheet and Parchment Paper: For baking the treats without sticking. Trying to bake cookies directly on a tray without parchment paper is a messy disaster waiting to happen.
- Rolling Pin and Cookie Cutters: If you’re feeling fancy and want to make shapes. It’s your chance to get creative, making little fish or heart-shaped treats that’ll make you want to snap a picture and share it with the world.
Safety First: Ingredients to Avoid
When embarking on the journey of creating homemade
I want to guide you through ensuring their safety by highlighting specific ingredients that should never find their way into your creations.
Common Foods That Are Harmful to Cats
Let’s jump into some of the everyday items lurking in our kitchens that, while harmless to us, can pose serious risks to cats.
First off, onions and garlic are big no-nos.
Even in small amounts, these can cause gastrointestinal upset or even anemia in cats due to their oxidative properties that damage red blood cells.
Chocolate is another well-known villain, containing theobromine, which cats (and dogs) cannot metabolize effectively.
This can lead to serious heart and nervous system issues.
Caffeine, found not just in coffee but also in tea, chocolate, and some soft drinks, can be extremely dangerous, causing restlessness, rapid breathing, heart palpitations, and muscle tremors.
Also, avoid letting your
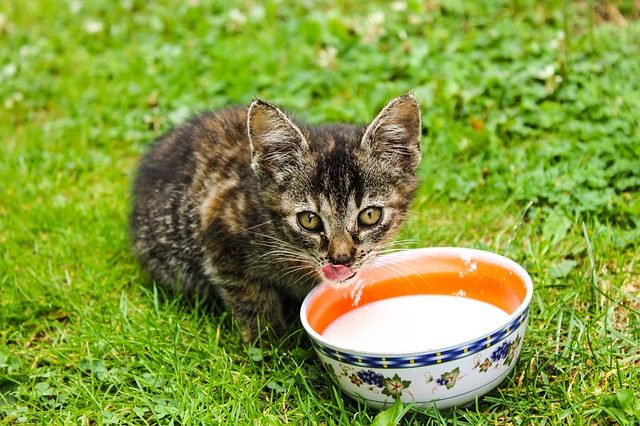
Here’s one that might surprise you: dairy products.
Yes, even though the popular image of a
How to Identify Safe Substitutes
Finding safe substitutes that won’t harm your
For instance, instead of using onions or garlic for flavor, why not try a sprinkle of catnip or a dab of pureed pumpkin for some added taste and nutrition?
Both are safe and can make your homemade treats even more appealing to your feline friend.
Protein is a must in a
If you’re looking for a grain to bind your treats together, choose options like cooked carrots or peas, which provide a healthy source of carbohydrates and are safe for cats in moderation.
Finally, for that creamy texture some recipes may call for, bypass the dairy and consider a tiny bit of unsweetened Greek yogurt or cottage cheese, which often have lower lactose levels.
But, these should still be used very sparingly and only for cats that have shown no previous signs of lactose intolerance.
Savory Meat-Based Treat Recipes
After diving into the basics of homemade
Cats naturally lean towards meat, so these treats are sure to be a hit.
Let’s investigate into some recipes that’ll have your feline friend purring for more.
Tasty Chicken and Spinach Bites
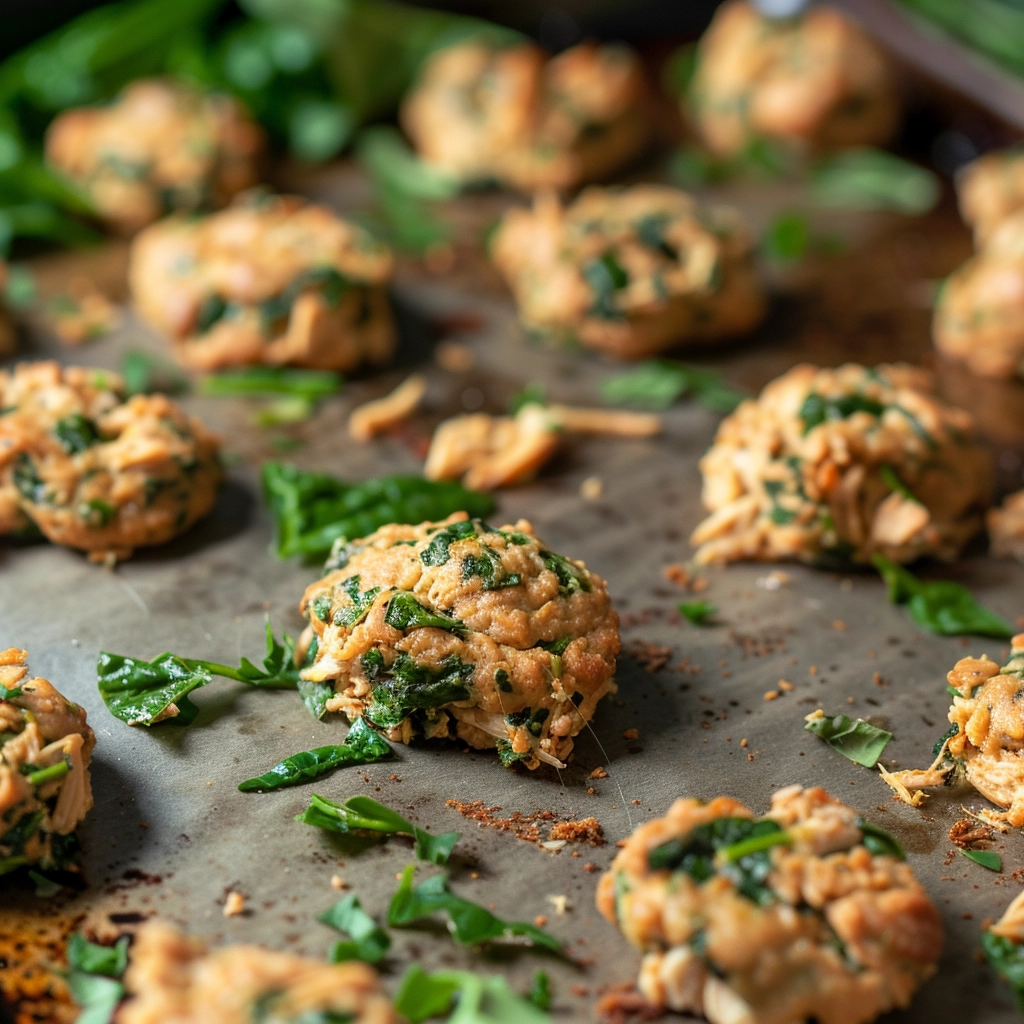
I’ve found that combining chicken with vegetables can be a winning formula for
My recipe for Tasty Chicken and Spinach Bites is a testament to that.
Here’s how you can whip up a batch:
- Prep the Ingredients: Start by pre-cooking about a cup of boneless chicken. Boiling is best to keep it simple and healthy. You’ll also need a handful of spinach, which should be blanched and chopped.
- Mix Together: Once your chicken is cooled and finely chopped, mix it with the spinach. For binding, add an egg and about two tablespoons of flour. If your
cat ‘s a fan, a pinch of catnip can make these treats irresistible. - Shape the Bites: Use your hands or a small spoon to shape the mixture into bite-sized balls. Place them on a baking sheet lined with parchment paper.
- Bake: In a preheated oven, bake the bites at 350°F (175°C) for about 15 minutes. They should be slightly golden but not too hard.
- Cool and Serve: Let them cool completely before offering them to your
cat . These can be stored in the fridge for up to five days.
Delectable Fish Cakes for Felines
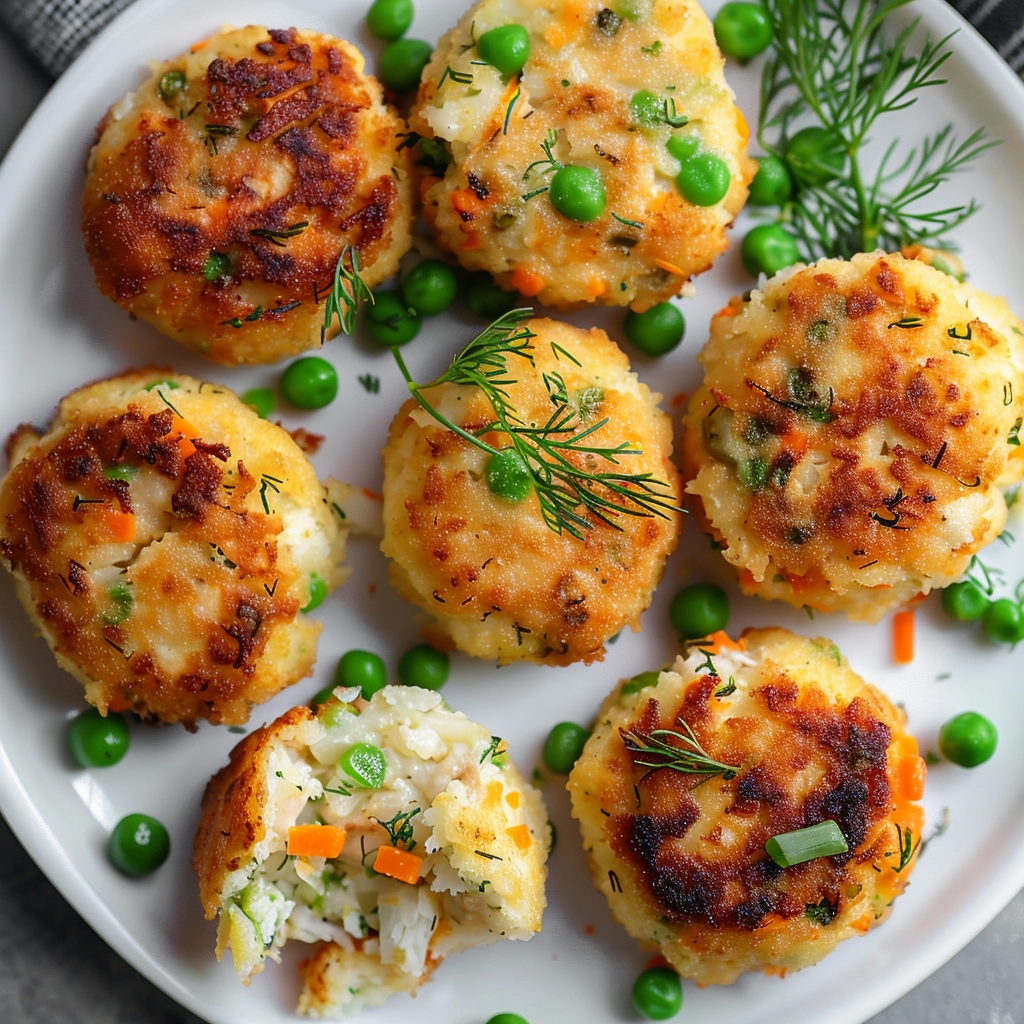
Fish is another feline favorite, and my Delectable Fish Cakes for Felines take full advantage of that. Here’s a simple yet delicious way to prepare them:
- Choose Your Fish: Opt for something mild like tilapia or salmon. Avoid anything too oily. You’ll need about a cup of cooked, flaked fish.
- Combine Ingredients: In a bowl, mix the fish with a quarter cup of cooked, mashed peas (for fiber) and an egg to bind everything. A bit of finely chopped cooked carrot can add a sweet touch which surprisingly, many cats enjoy.
- Form the Cakes: Shape the mixture into small cakes or patties, then lay them on a parchment-lined baking tray.
- Bake: Bake at 350°F (175°C) for 20 minutes. The goal is for them to hold together but remain moist inside.
- Cool Down: Make sure these cool completely before you let your
cat try them. They’ll keep in the fridge for up to five days or can be frozen for longer storage.
Healthy Grain-Free Cat Delights
In the world of
I’ve found grain-free options to not only be healthier but also incredibly well-received by even the pickiest of feline palates.
Let’s jump into how you can create these treats right at home.
Grain-Free Tuna Morsels
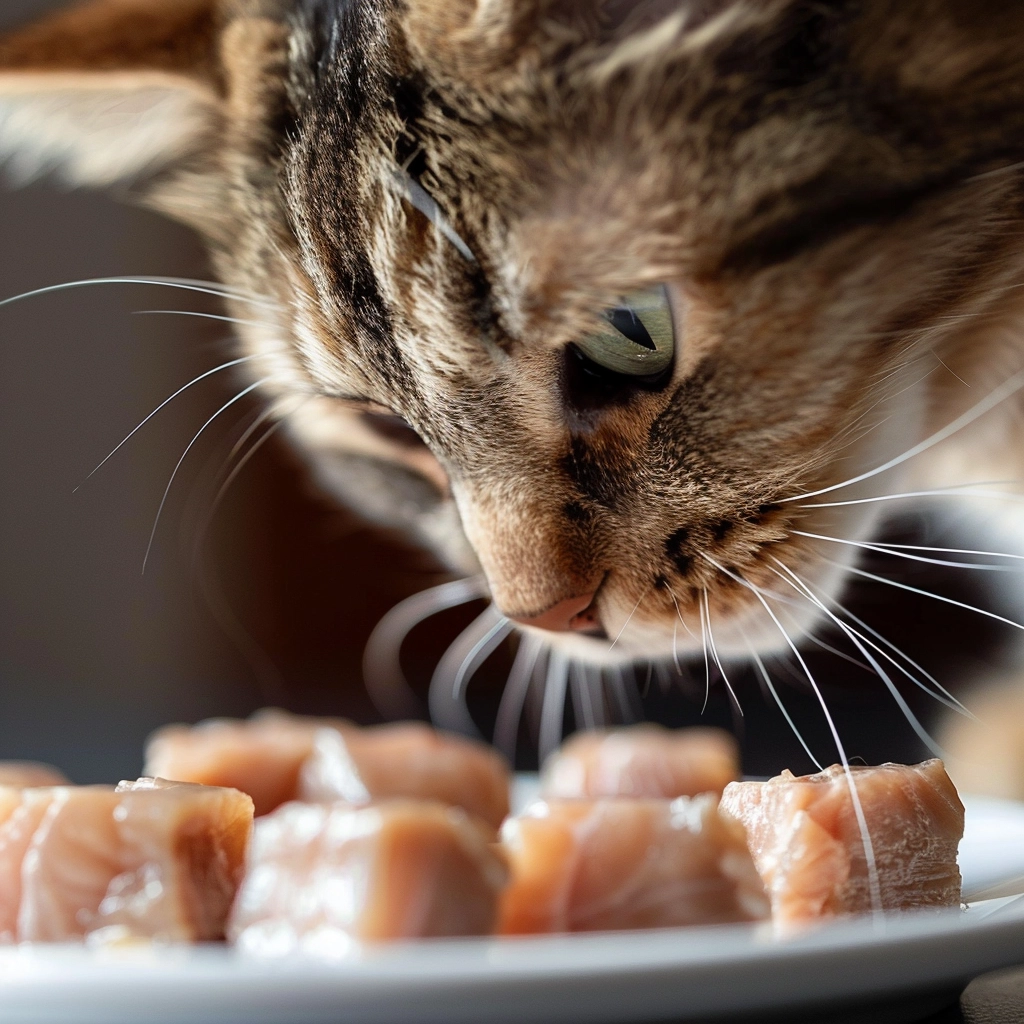
Imagine the smell of the ocean wafting through your kitchen.
That’s exactly what you get with these Grain-Free Tuna Morsels.
You’ll need a simple set of ingredients: canned tuna in water (not drained), an egg, and a touch of olive oil.
The beauty of these morsels lies in their simplicity and the joy they bring to your
- First, preheat your oven to 350 degrees Fahrenheit.
- Then, blend the tuna until it’s finely chopped, but not quite pureed. It should still have some texture for that bite your
cat craves. In a bowl, mix the tuna, a beaten egg, and a splash of olive oil until it’s a cohesive mixture. - Using a teaspoon, scoop this mixture onto a baking sheet lined with parchment paper. I like to shape them into small, bite-sized pieces. Remember, small treats are not just cute; they’re also perfect for portion control!
- Bake these morsels for about 12-14 minutes. Once done, let them cool before offering them to your
cat . The result? Tender, protein-packed treats that are likely to make yourcat purr with approval.
Herb-Infused Rabbit Medallions
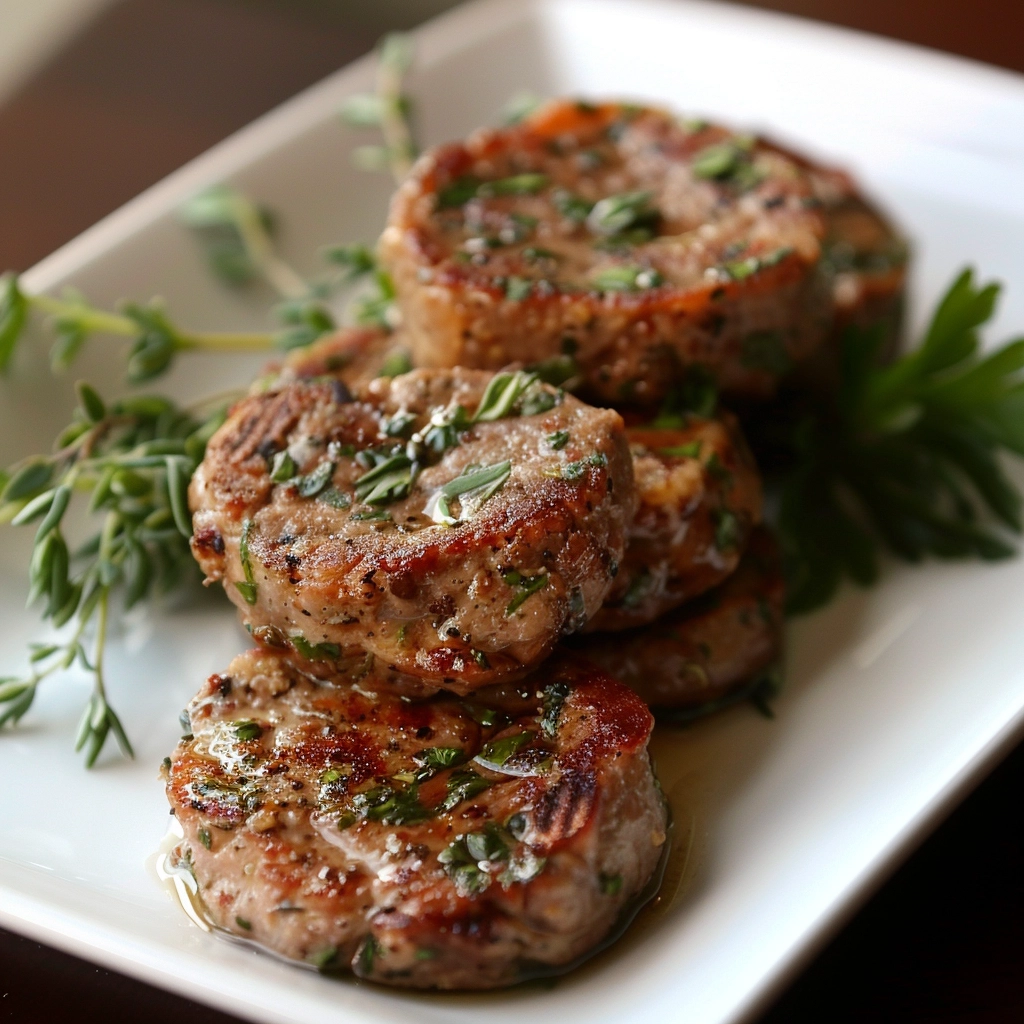
For something slightly more gourmet: Herb-Infused Rabbit Medallions.
Rabbit is a fantastic source of lean protein, and when infused with
For this treat, you’ll need ground rabbit meat, a few tablespoons of finely chopped
- In your kitchen, mix these ingredients passionately, as if you’re a Michelin-star chef dedicated to feline cuisine.
- Shape the mixture into small, flat medallions. Think of them as tiny, savory pancakes for your
cat . - Then, lightly pan-fry them in a non-stick skillet with a tiny bit of olive oil. The goal is to cook them thoroughly while maintaining their tenderness, so a few minutes on each side should suffice.
- Once cooked, let them rest on a paper towel to drain any excess oil. Cooling them down is crucial – we don’t want to serve our furry friends anything that might burn their delicate tongues.
- Once cool, watch as your
cat experiences a taste of the wild with each bite of these herb-infused delicacies.
Freeze-Dried Favorites: Simple No-Cook Options
Creating treats for your beloved feline shouldn’t require you to be a Michelin-star chef.
That’s why I love the simplicity of no-cook options.
Not only are these treats easy to whip up, but they also maintain the natural nutrients that cooking sometimes destroys.
Let me guide you through making some freeze-dried favorites that your
Nutritious No-Bake Tuna Balls
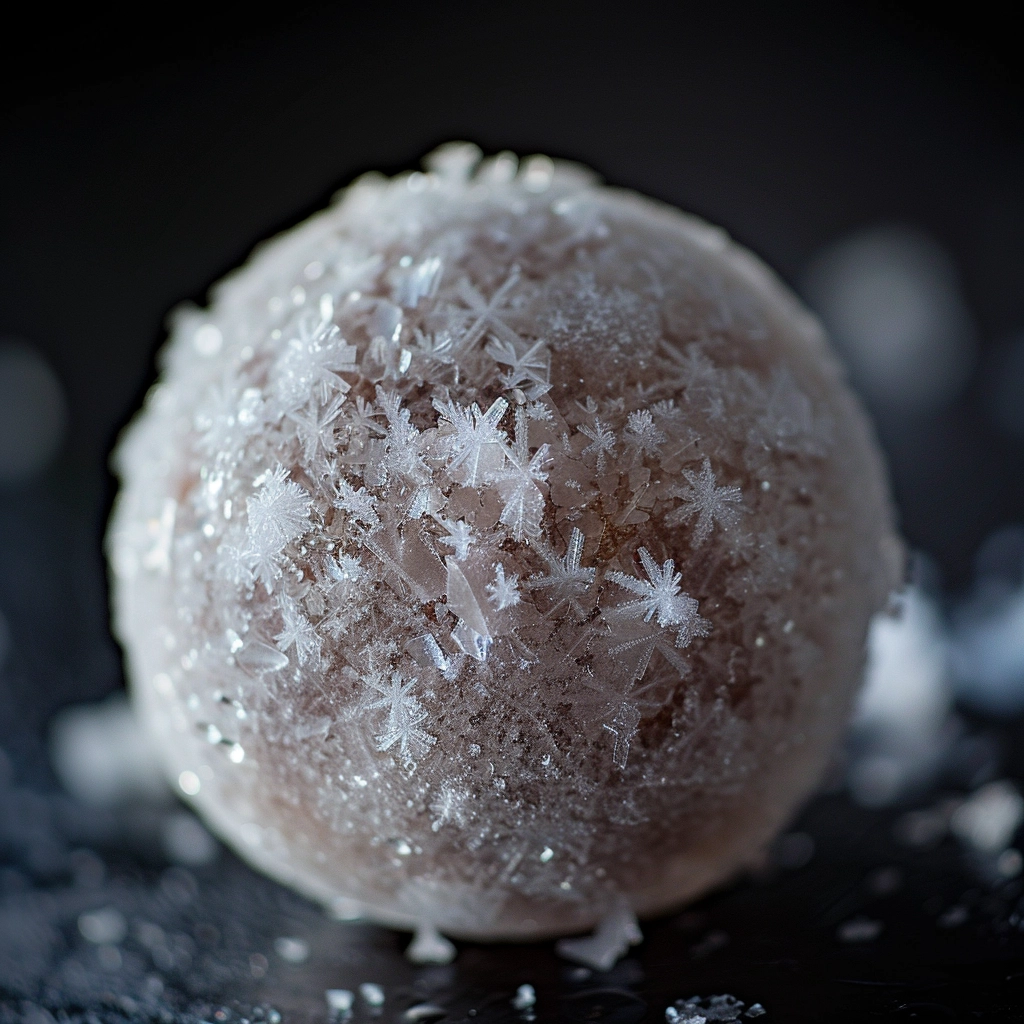
First up, let’s tackle the Nutritious No-Bake Tuna Balls.
They’re like the feline equivalent of high-end sushi, but without the hassle of cooking.
Ingredients:
- A can of tuna (preferably in water, not oil)
- A little bit of
cat -safe binding agent (I find a bit of oat flour or cooked mashed sweet potato works wonders)
Instructions:
- Drain the tuna as much as possible. We’re aiming for the consistency of playdough, not soup.
- Mash it up in a bowl and gradually add your binding agent. You’re looking for a moldable texture.
- Once you’ve achieved the perfect consistency, roll the mixture into small, pea-sized balls.
- Lay these out on a parchment-lined tray and freeze. After about two hours, you’ll have a treat that’s both nutritious and refreshing.
Why are these a winner?
Well, they’re incredibly easy to make and store, plus the cool texture can be a delightful surprise for your
Besides, since there’s no cooking involved, all of tuna’s natural omega-3s are perfectly preserved, making these treats not only tasty but incredibly healthy.
Homemade Freeze-Dried Chicken Chunks
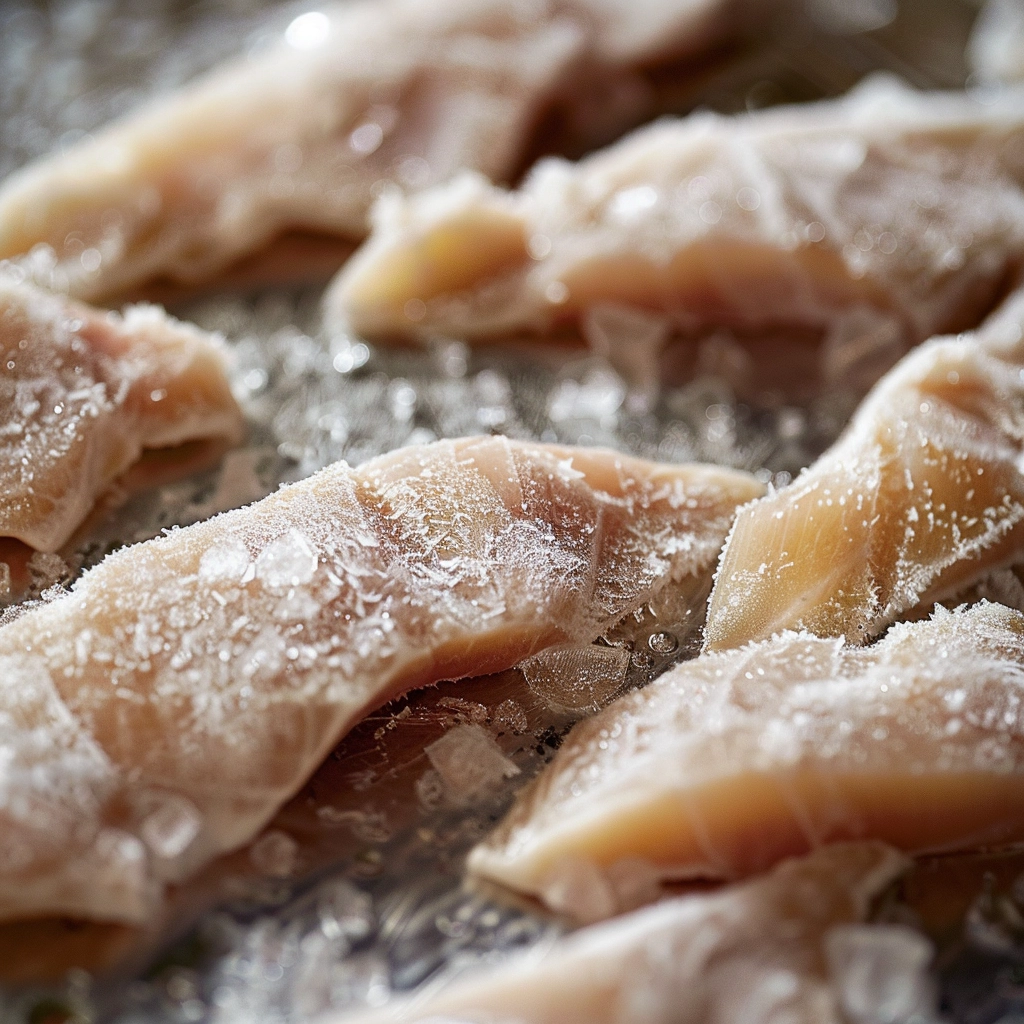
Let’s shift gears to Homemade Freeze-Dried Chicken Chunks.
It sounds technical, but it’s actually pretty straightforward.
You’re essentially dehydrating chicken to preserve its nutritional value and extend its shelf life—without ever turning on your oven.
Ingredients:
- Boneless, skinless chicken breasts
Process:
- Start by thinly slicing the chicken breast. The thinner the slice, the quicker it will dry out.
- Lay these slices out on a baking sheet lined with parchment paper. Make sure none of the slices are touching; they need space to “breathe.”
- Pop these in your freezer and leave them there for at least 24 hours. The key here is patience. You’re looking for the chicken to freeze solid and then slowly dry out, a process that can take a bit of time.
- Once they’re thoroughly dried, break the slices into small, bite-sized chunks.
Special Treats for Common Cat Issues
These treats not only offer a delicious snack for your furry friend but also provide functional benefits to keep them healthy and happy.
Hairball Control Kitty Treat
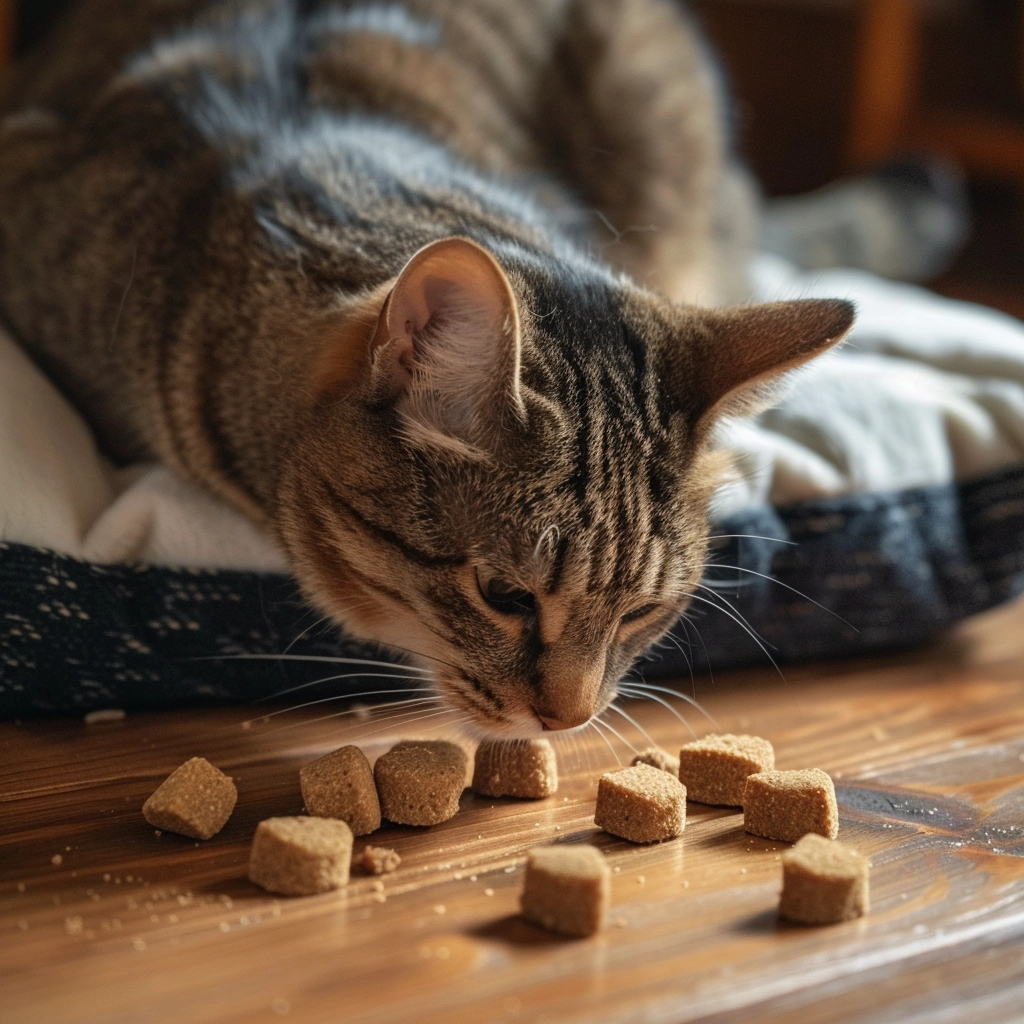
Hairballs are more than a messy inconvenience; they can lead to discomfort and even health issues for cats.
But, I’ve found a fantastic recipe that combines both flavor and function to help manage this hairy dilemma.
Ingredients:
- 1 cup of canned pumpkin (a natural fiber source to aid digestion)
- 1/4 cup of shredded carrots (for added fiber and vitamins)
- 1 egg (for binding and protein)
- 2 tablespoons of olive oil (to help lubricate the digestive system)
- 1 cup of whole wheat flour (or a grain-free alternative if your
cat is sensitive) - A sprinkle of catnip (for that irresistible zing)
Instructions:
- Preheat your oven to 350°F.
- In a large bowl, mix the pumpkin, carrots, egg, and olive oil until well blended.
- Gradually add the flour (and catnip, if using) to the wet ingredients until a dough forms.
- Roll out the dough and cut into bite-sized pieces suitable for your
cat . - Bake for 10-12 minutes, or until the treats are firm but not too hard.
These treats are not only delicious but also provide a natural way to help your
And, let’s be honest, anything that reduces the frequency of those unpleasant surprises on our floors is a win in my book!
A Perfect Treat For Dental Issues
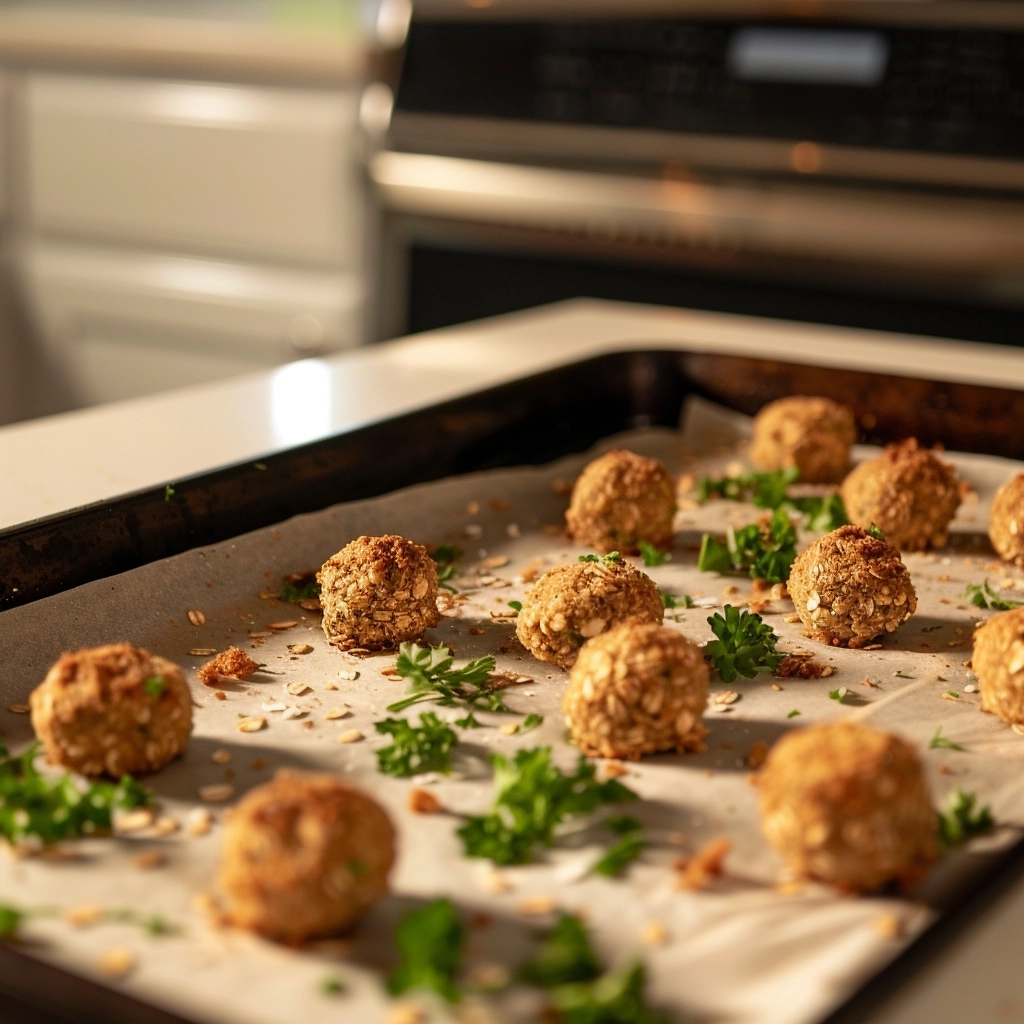
Dental health is paramount for cats, but getting them to tolerate a toothbrush can be a challenge.
That’s where these dental-friendly homemade treats come in. Packed with ingredients that naturally clean teeth and freshen breath, they’re a game-changer.
Ingredients:
- 1 1/2 cups of oat flour (a gentle abrasive to help clean teeth)
- 1/2 cup of fresh parsley (for breath freshening)
- 1/4 cup of water or unsalted chicken broth (for moisture and flavor)
- 1/4 cup of cooked, mashed sweet potato (for vitamins and natural sweetness)
- 2 tablespoons of coconut oil (for healthy fats and to help the dough bind)
Process:
- Preheat your oven to 350°F.
- Mix all ingredients in a large bowl until a dough forms. If it’s too sticky, add a bit more flour; if it’s too dry, add a touch more water.
- Roll the dough into small balls and place them on a parchment-lined baking sheet.
- Bake for about 15 minutes, or until the treats are firm and slightly
Storing Your Homemade Cat Treats
After pouring so much love into making the perfect treats for your furry friend, it’s crucial to store them properly.
Doing so not only keeps them fresh but also ensures they remain safe for your
Here’s how you can keep those homemade goodies in tip-top shape.
Best Practices for Freshness
Think of your homemade
Just as cookies or bread wouldn’t last long if left out, the same goes for these treats.
Hence, after they’ve cooled down completely, I always pop them straight into an airtight container.
This simple step is your first defense against staleness and moisture, two main culprits that can ruin your hard work.
For those treats that are a bit moister, like the tuna snacks we mentioned earlier, layering them between sheets of wax paper in the container can prevent them from sticking together.
It’s a trick I’ve found extremely helpful — kind of like how you’d store delicate homemade fudge to keep it from becoming one big lump.
Wrapping This one Up
I’ve always believed that the way to a
It’s not just about the treats themselves but the love and care we pour into creating them.
From ensuring their safety with the right ingredients to tailoring recipes for their health needs, every step is a testament to our devotion.
Remember, it’s not just about the variety but also about how we store these treats to keep them fresh and safe for our furry friends.
Whether it’s a batch of Hairball Control Kitty Treats or those designed to keep their teeth clean, the effort we put in is what makes these treats truly special.
So next time you’re in the kitchen, think of whipping up a little something for your feline companion.
It’s a wonderful way to strengthen that unique bond between you and your
Plus, seeing them enjoy something you’ve made is a joy like no other!
